在Windows應用程序開發中,WinForm和WPF是兩種主要的技術框架。它們各自有不同的設計理念、渲染機制和開發模式。本文將詳細探討WPF與WinForm的本質區別,并通過示例進行說明。
1. 渲染機制 WinForm WinForm基于Windows GDI/GDI+進行渲染,這是一種基于CPU的渲染技術。每個控件都是Windows原生控件的封裝,適合簡單的用戶界面。
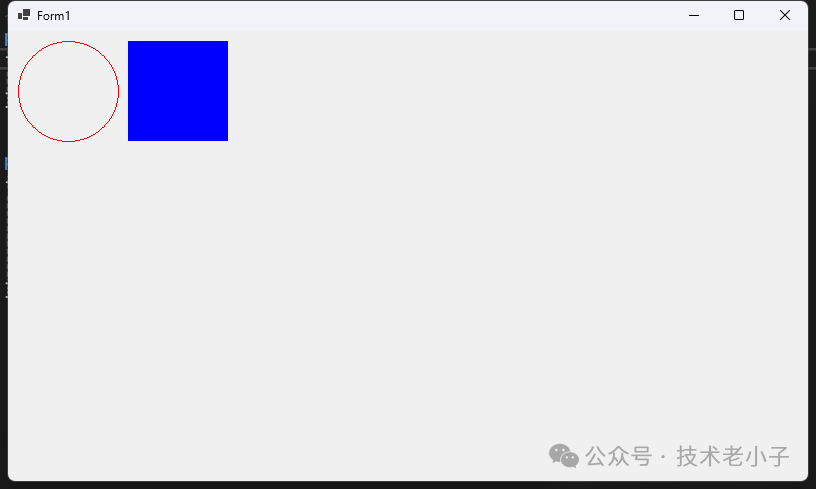
示例:在WinForm中繪制自定義圖形
protected override void OnPaint (PaintEventArgs e) 10 , 10 , 100 , 100 );120 , 10 , 100 , 100 );
WPF WPF使用DirectX進行渲染,是一種基于GPU的渲染技術。所有控件都是由矢量圖形組成,能夠充分利用GPU加速,處理復雜動畫和圖形效果。
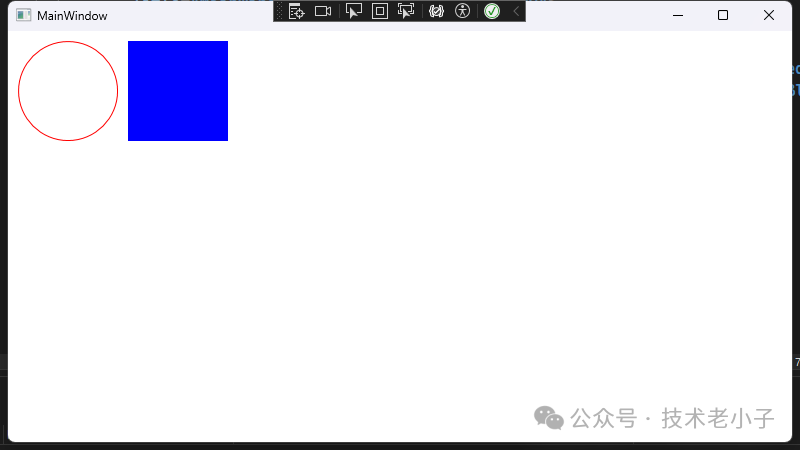
示例:在WPF中繪制相同圖形
<Canvas > <Ellipse Width ="100" Height ="100" Margin ="10,10,0,0" Stroke ="Red" StrokeThickness ="1" /> <Rectangle Width ="100" Height ="100" Margin ="120,10,0,0" Fill ="Blue" /> </Canvas >
2. 布局系統 WinForm WinForm使用基于像素的絕對定位系統,控件位置通過坐標確定。雖然可以使用Dock等方法進行布局,但相對較為復雜。
示例:WinForm布局
button1.Location = new Point(10 , 10 );new Size(100 , 30 );new Point(120 , 10 );new Size(100 , 30 );WPF WPF采用基于容器的流式布局系統,提供多種布局面板(如StackPanel、Grid等),使得界面設計更加靈活。
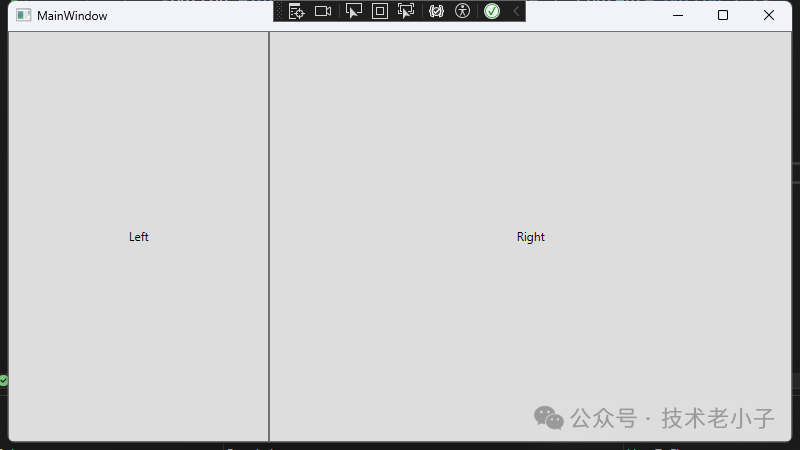
示例:WPF布局
<StackPanel > <Button Width ="100" Height ="30" Margin ="5" Content ="Button 1" /> <Button Width ="100" Height ="30" Margin ="5" Content ="Button 2" /> </StackPanel > <Grid > <Grid.ColumnDefinitions > <ColumnDefinition Width ="*" /> <ColumnDefinition Width ="2*" /> </Grid.ColumnDefinitions > <Button Grid.Column ="0" Content ="Left" /> <Button Grid.Column ="1" Content ="Right" /> </Grid >
3. 數據綁定 WinForm WinForm提供簡單的數據綁定機制,主要用于Windows Forms控件和數據源之間的綁定。
示例:WinForm數據綁定
public class Person {public string Name { get; set ; }public int Age { get; set ; }// 在窗體中 new Person { Name = "John" , Age = 30 };"Text" , person, "Name" );"Value" , person, "Age" );WPF WPF提供了強大的數據綁定系統,支持多種綁定模式和轉換器,能夠實現更復雜的數據交互。
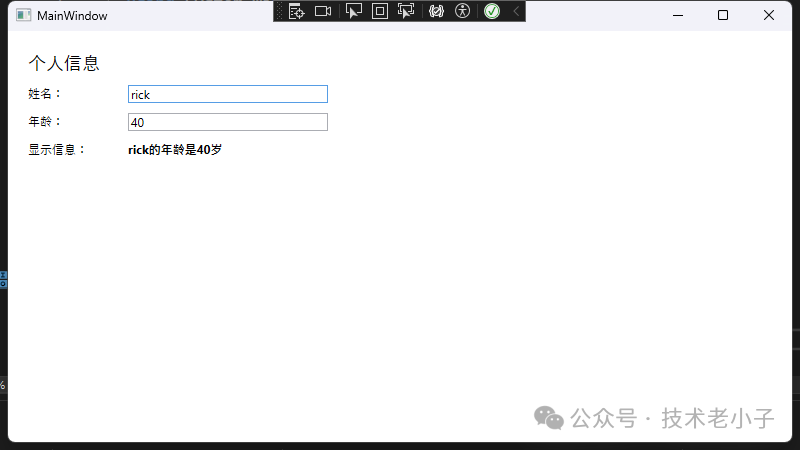
示例:WPF數據綁定
<Window x:Class ="AppWpf.MainWindow" xmlns ="http://schemas.microsoft.com/winfx/2006/xaml/presentation" xmlns:x ="http://schemas.microsoft.com/winfx/2006/xaml" xmlns:d ="http://schemas.microsoft.com/expression/blend/2008" xmlns:mc ="http://schemas.openxmlformats.org/markup-compatibility/2006" xmlns:local ="clr-namespace:AppWpf" mc:Ignorable ="d" Title ="MainWindow" Height ="450" Width ="800" > <Window.Resources > <local:AgeConverter x:Key ="AgeConverter" /> </Window.Resources > <Grid > <StackPanel Margin ="20" > <TextBlock Text ="個人信息" FontSize ="18" Margin ="0,0,0,10" /> <StackPanel Orientation ="Horizontal" Margin ="0,0,0,10" > <TextBlock Text ="姓名:" Width ="100" /> <TextBox Text ="{Binding Name, UpdateSourceTrigger=PropertyChanged}" Width ="200" /> </StackPanel > <StackPanel Orientation ="Horizontal" Margin ="0,0,0,10" > <TextBlock Text ="年齡:" Width ="100" /> <TextBox Text ="{Binding Age, Converter={StaticResource AgeConverter}}" Width ="200" /> </StackPanel > <StackPanel Orientation ="Horizontal" Margin ="0,0,0,10" > <TextBlock Text ="顯示信息:" Width ="100" /> <TextBlock Text ="{Binding DisplayInfo}" FontWeight ="Bold" /> </StackPanel > </StackPanel > </Grid > </Window > public class PersonViewModel :private string _name;private int _age;public string Nameset public int Ageset private string _displayInfo;public string DisplayInfoprivate set private void UpdateDisplayInfo () string .IsNullOrEmpty(Name)"請輸入姓名" "{Name}的年齡是{Age}歲" ;public event PropertyChangedEventHandler PropertyChanged;protected void OnPropertyChanged ([CallerMemberName] string name = null) this , new PropertyChangedEventArgs(name));
4. 控件自定義 WinForm WinForm主要通過屬性設置和重寫繪制方法來自定義控件外觀。
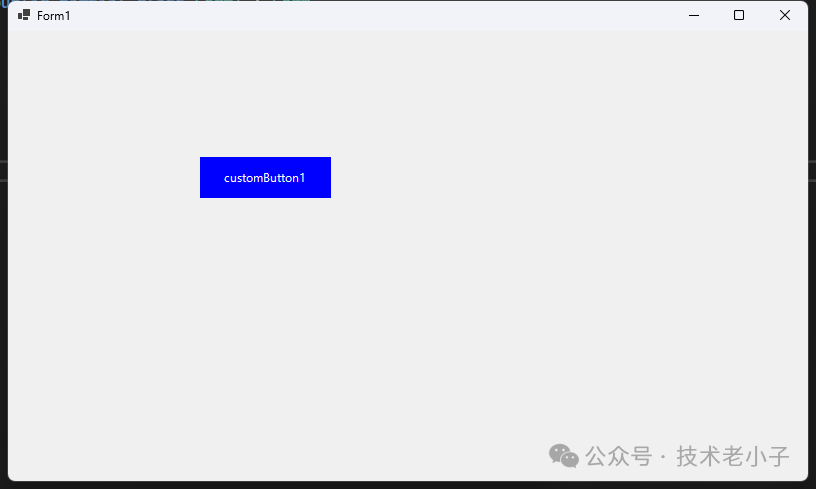
示例:自定義WinForm按鈕外觀
public class CustomButton :protected override void OnPaint (PaintEventArgs pevent) using (StringFormat sf = new StringFormat()) {
WPF WPF允許通過樣式和模板來定義控件的外觀,提供了更強大的樣式定制能力。
示例:WPF按鈕樣式
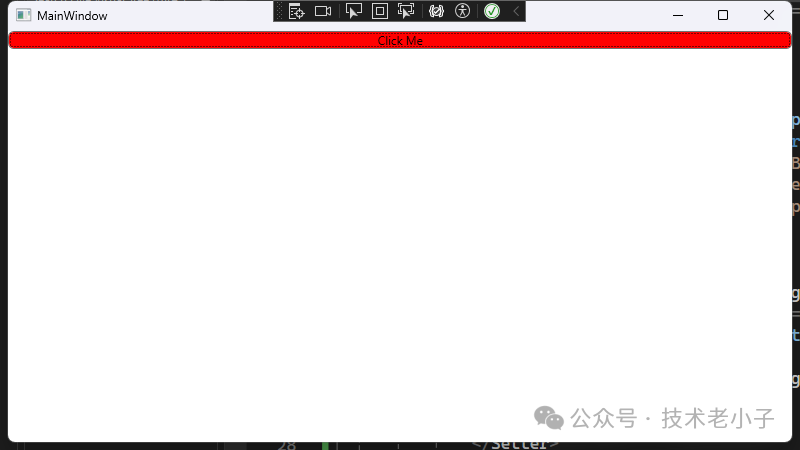
<Style TargetType ="Button" > <Setter Property ="Template" > <Setter.Value > <ControlTemplate TargetType ="Button" > <Border x:Name ="border" Background ="{TemplateBinding Background}" BorderBrush ="{TemplateBinding BorderBrush}" BorderThickness ="{TemplateBinding BorderThickness}" CornerRadius ="5" > <ContentPresenter HorizontalAlignment ="Center" VerticalAlignment ="Center" /> </Border > <ControlTemplate.Triggers > <Trigger Property ="IsMouseOver" Value ="True" > <Setter TargetName ="border" Property ="Background" Value ="Red" /> </Trigger > </ControlTemplate.Triggers > </ControlTemplate > </Setter.Value > </Setter > </Style >
?
5. 事件處理 WinForm WinForm使用傳統的事件處理機制,事件處理相對簡單。
示例:WinForm事件處理
public partial class Form1 :public Form1 () private void Button1_Click (object sender, EventArgs e) "Button Clicked!" );WPF WPF使用更復雜的路由事件系統,支持事件隧道和冒泡,提供更靈活的事件處理方式。
示例:WPF路由事件
<StackPanel PreviewMouseDown ="StackPanel_PreviewMouseDown" > <Button Content ="Click Me" MouseDown ="Button_MouseDown" /> </StackPanel > private void StackPanel_PreviewMouseDown (object sender, MouseButtonEventArgs e) // 隧道事件 - 首先觸發 "StackPanel Preview" );private void Button_MouseDown (object sender, MouseButtonEventArgs e) // 冒泡事件 - 隨后觸發 "Button MouseDown" );6. 開發模式 WinForm WinForm適合快速原型開發,具有平緩的學習曲線,特別適合初學者和簡單應用的開發。
WPF WPF采用MVVM(Model-View-ViewModel)模式,適合大型應用程序開發,支持組件化和模塊化特性。
總結 WinForm和WPF各有其獨特的優勢和適用場景。WinForm以其簡單易用和快速開發的特點,適合初學者和小型企業應用。而WPF則憑借其強大的圖形處理能力、靈活的布局和數據綁定機制,適合構建復雜的企業級應用。對于開發者來說,理解這兩者的本質區別,有助于選擇合適的技術框架來滿足項目需求。
閱讀原文:原文鏈接
